by Shimeng Gao (3rd year Physical Therapy Doctorate student, Mount Saint Mary’s University)
Why Restorative Yoga?
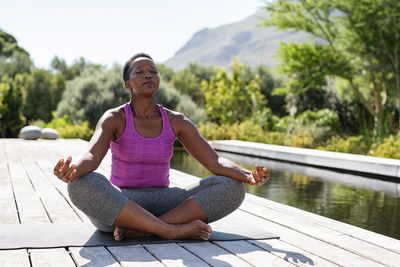
Restorative yoga is a relaxing form of yoga intended to invite the practitioner to listen to their bodies, tune in to their breaths and generate the natural way of body healing. Unlike the popular Vinyasa flow or Hatha yoga, restorative yoga focuses on using props such as bolsters, blocks and blankets to support the body for longer periods of passive stretching. Holding each pose for about 5 minutes, the practitioner will feel a deeper release from the tensions generally formed in the neck/shoulders and hips areas. Being a yoga instructor for almost a decade, I have experienced students crying during restorative yoga sessions and allowing themselves to feel vulnerable and release their emotions. When we practice restorative yoga, we are teaching our nervous system to feel safe coming into a deeper state of rest that will help the body rehab and heal.
What’s the best way to incorporate restorative yoga into my exercise routine?
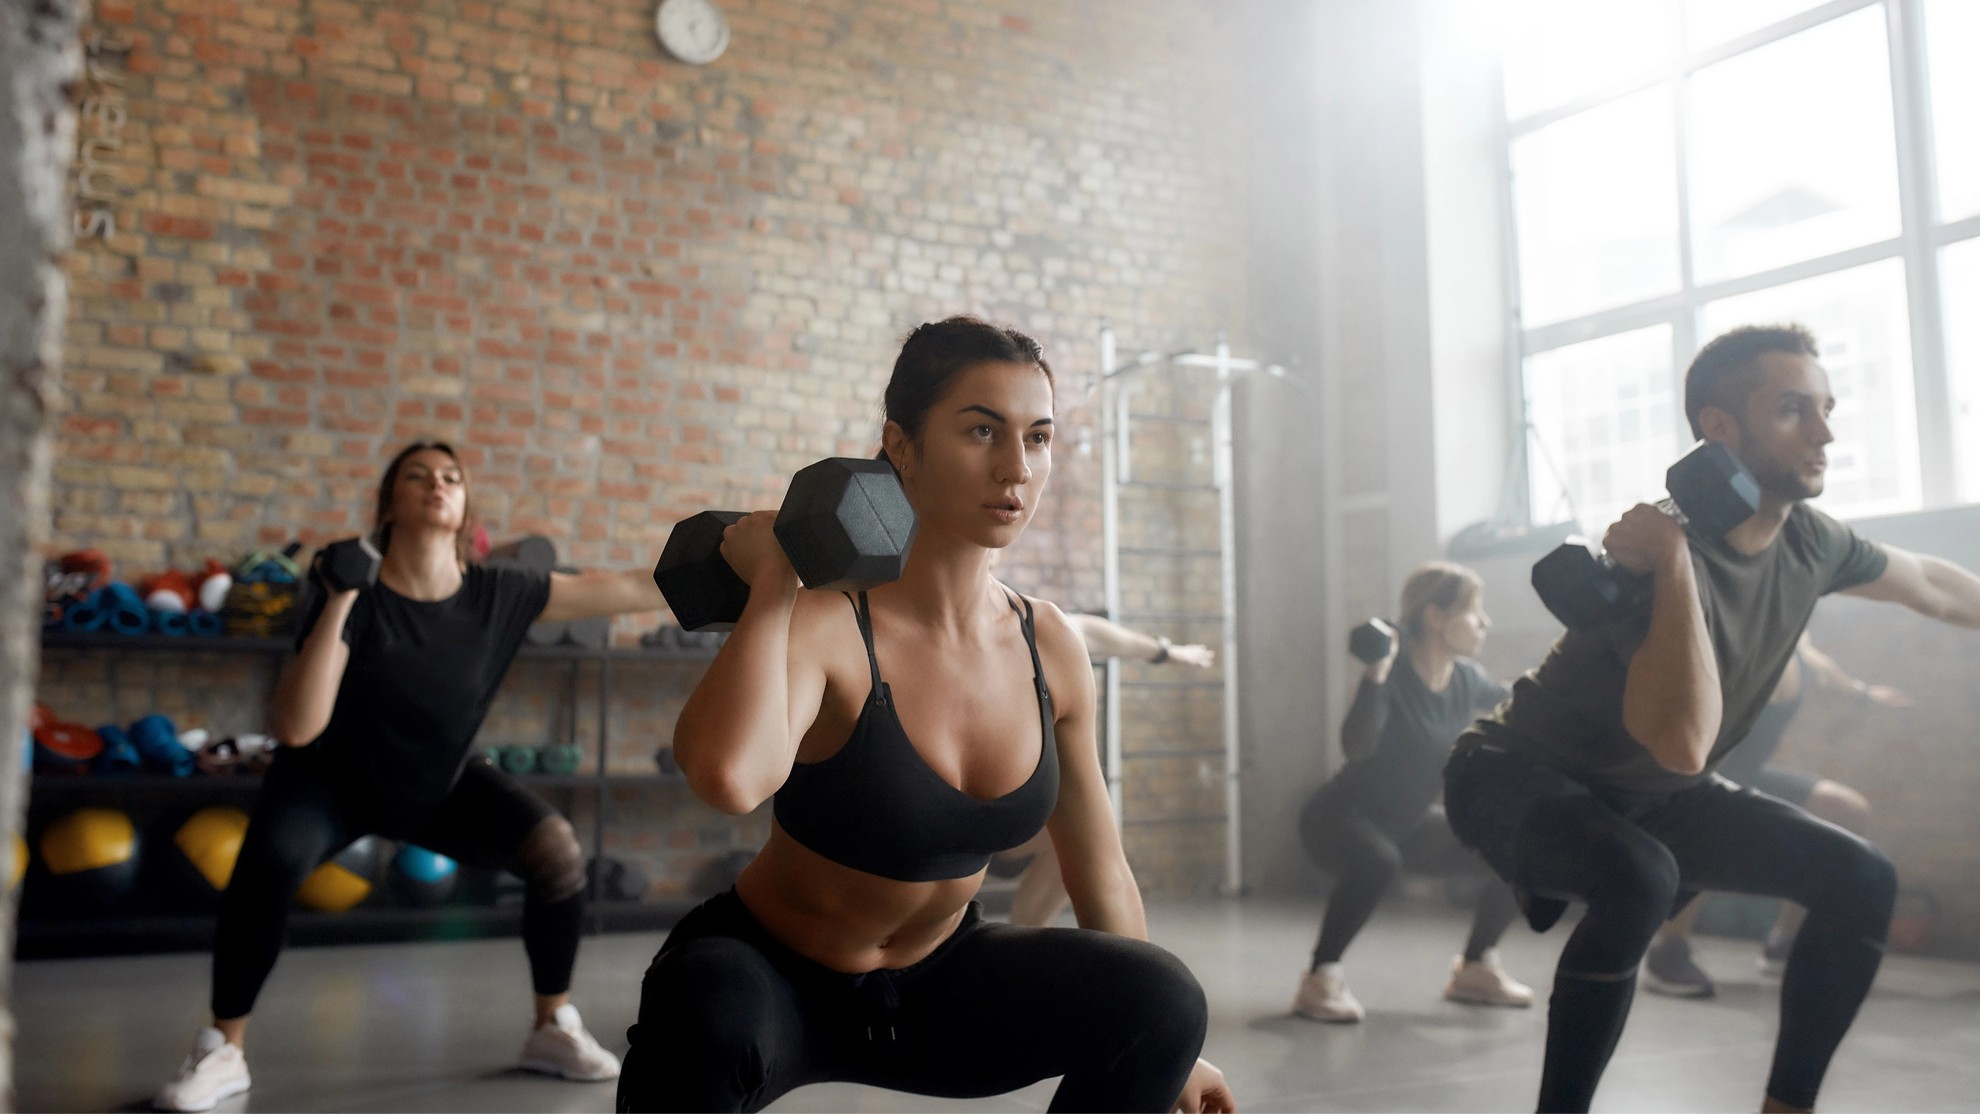
The purpose of restorative yoga is to guide us to find a homeostasis, or balance, of the nervous system. When exercising, such as running, weightlifting or boxing on Switch, we are upregulating, or exciting, the nervous system. To bring the nervous system back to the neutral state and to enhance rest and sleep, we must downregulate to quiet the nervous system. In this way, restorative yoga is a great tool for us to activate our rest and digest response (parasympathetic system). If you’re a beginner and haven’t practiced or experienced restorative yoga before, please try the following:
- Dim the lights (and even light up your favorite candle or sprinkle a few drops of essential oil on your mat for extra unwinding)
- Grab a bolster or firm pillows
- Silence all of your electronics
- Most importantly, follow your breaths by allowing the belly to rise up and down
1. Supported Child’s Pose (Balasana)
- Props: a bolster, a blanket and a yoga block. Firm pillows and a thick book work just fine too!
- Feel free to stack up the pillows to allow your spine feel the maximum release.
- Belly touch the bolster/pillow, arms around the thighs or folded together under the bolster (as pictured) for support. Soften the shoulders and just listen to your breaths.
- At the halfway mark, rotate the neck and balance the body.


2. Legs Up the Wall (Viparita Karani)
- Relax the pelvis/sacrum area on the bolster or on the floor depending on your comfort level.
- Arms out by your side with the palms face up.
- Knees slightly bent, relax the feet. Feel free to bend the knees more and press the feet onto the wall if feeling too much tension on the hamstrings.
- Take the breaths to the belly and pelvis region to rejuvenate the pelvic and hip regions.

3. Supported Bridge (Setu Bandha Sarvāṅgāsana)
- Bolster/pillows under the sacrum (flat bone on the back of the pelvis)
- Feet hip-width apart and parallel with each other
- Press shoulders down and feel the arms heavy on the floor
- Keep the back of the neck lengthened
- Listen to your breaths
- To come out of this pose safely, activate the glutes, come up for an active bridge, slide the bolster to the side and release the vertebrates down one at a time.

Please reach out for further guidance on restorative yoga.